
Discover expert tips, apparel manufacturing trends, private label strategies, and B2B sourcing insights.
Choosing Custom Compression Wear is not just a matter of picking a color and adding a logo. Buyers must weigh fit, fabric, compression level, construction, and intended use. A sleeve that rolls at the edge or a waistband that digs in can undermine an otherwise polished design. Details matter.
Market reports show why careful sourcing is important. Grand View Research’s Compression Garments Market report tracks demand across medical, sports, and lifestyle applications, reflecting a broad and varied category. But market growth does not guarantee product quality. Buyers should ask suppliers for fabric specifications, size charts, production tolerances, and documented quality checks. Requesting a sample before approving a full run can reveal seam irritation, fabric transparency, or inconsistent sizing. A tape measure helps. So does a real wear test.
Evidence on performance also deserves a measured reading. Reviews published in sports medicine literature report mixed results for athletic performance, while recovery benefits appear modest and may depend on the activity and garment. Compression is not a shortcut, and a tighter fit is not automatically better. Buyers should check whether claims match the intended use and seek qualified medical advice when garments are meant for health-related needs. The ten tips ahead focus on practical choices—from fit testing and material selection to supplier questions—so buyers can make decisions they can explain, verify, and improve. A little uncertainty is useful: even a well-made garment may not suit every body or activity.
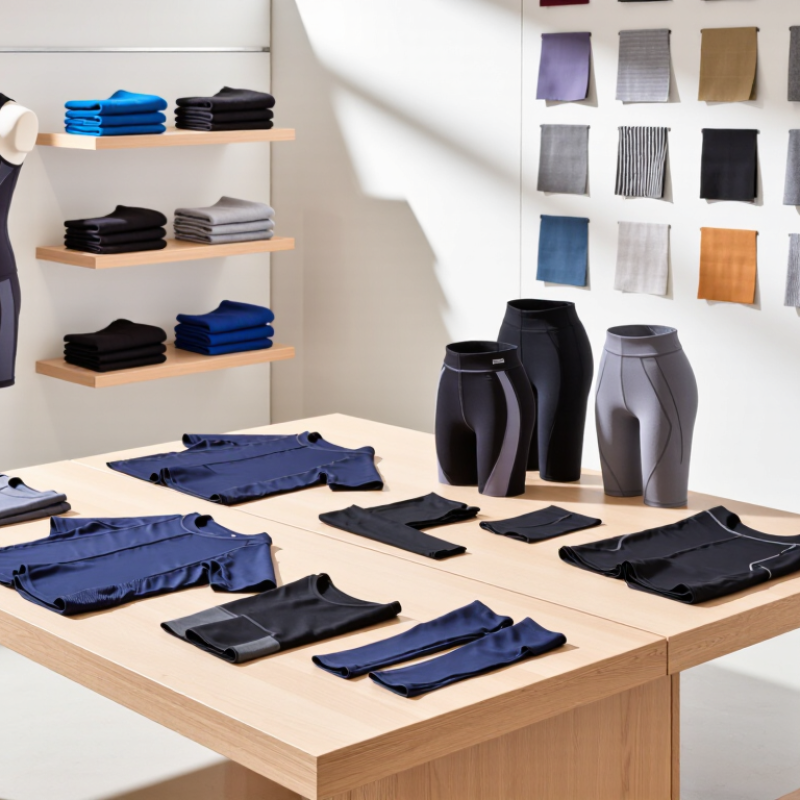
Before ordering custom compression wear, identify when and where you plan to use it. A garment for a long flight may need different coverage from one worn during a work shift or exercise. Note the hours you expect to wear it, the movements you need, and any areas that feel uncomfortable. For example, a waistband that presses while seated can become distracting after several hours. Small details matter.
Decide whether you need medical compression or general supportive wear. Medical compression is used for specific health needs, and the appropriate pressure and garment style can depend on your condition. Ask a qualified healthcare professional before choosing it, especially if you have circulation problems, reduced sensation, swelling, or a recent procedure. Do not guess a compression level from an online chart. A measurement taken at the wrong time of day can also affect fit, since swelling may change.
For everyday support, focus on comfort, movement, and accurate measurements rather than choosing the strongest-feeling option. Check how the fabric sits when you bend, sit, and walk. It should feel secure, not painful or numb. Custom sizing can help, but it cannot solve every fit issue. Recheck your measurements before ordering; it is easy to overlook a small change.
Typical compression ranges can help you ask informed questions—but they do not determine whether medical compression is right for you.
Approximate commonly used garment ranges shown at the ankle: mild, 8–15 mmHg; moderate, 15–20 mmHg; firm, 20–30 mmHg; and extra firm, 30–40 mmHg. Class definitions vary by product and standard. For swelling, pain, circulation concerns, or a prescribed treatment need, consult a qualified healthcare professional before choosing compression level or fit.
When buying custom compression wear, confirm the intended medical pressure before choosing fabric or color. Under RAL-GZ 387, Class I compression is 18–21 mmHg at the ankle. This is a defined ankle-pressure range, not a promise that every part of the garment applies identical pressure. Ask for documentation showing the garment’s class and how it is made to fit. Fit matters.
Tips: Get measured when swelling is typical, and follow the supplier’s measuring instructions. An ankle measurement taken too loosely can affect fit and pressure. Ask whether measurements should be repeated, especially if your limb shape changes. Small errors happen. A custom order alone does not confirm that the garment meets a particular compression standard.
Check that the top edge sits comfortably and that fabric does not bunch behind the knee or crease at the ankle. These details can affect comfort during daily wear. If you need compression for a medical condition, ask a qualified clinician whether Class I is suitable for you. Pressure needs vary, and the right choice may depend on your circulation, symptoms, and limb measurements. Don’t guess from a size chart alone.
Measure directly against the supplier’s custom size chart, not a usual clothing size. Compression garments depend on close, even contact, so small measurement errors can change the fit. Use a flexible tape on bare skin, standing naturally. Keep it level and snug, but do not pull it tight. Record chest or bust, underbust, waist, hips, and any limb or torso points the chart requests. Measure both sides if the supplier asks. Details matter.
The SizeUK national sizing survey reported collecting body scans from more than 11,000 people. That scale illustrates how much body shapes vary, even among people with similar heights or weights. A height-and-weight estimate is not a substitute for your own measurements. For a closer match, measure twice and compare each result with the supplier’s chart; if a value falls between sizes, ask which option suits the garment’s intended compression. Do not guess. I can still be tempted to round a measurement to a neat number, but that makes the chart less useful. Write down the actual reading, measurement location, and date, then share any uncertainty with the supplier.
A compression fabric can look firm on a cutting table and behave differently on a moving body. Ask the supplier which test method fits the knit. ASTM D2594 evaluates stretch properties in knitted fabrics with low power. ASTM D4964 measures tension and elongation in elastic fabrics using a constant-rate-of-extension machine. They answer related, but not identical, questions.
Request the test report, including specimen direction, applied load, and measured extension. Compare lengthwise and crosswise results; a sleeve may need different give from a waistband. D2594 may be useful for low-power knits, while D4964 can help assess elastic materials under increasing tension. Neither result alone tells you the garment’s compression pressure or guarantees a comfortable fit. Small detail. Check the lab’s method and the fabric’s intended use.
Test samples before approving bulk production. Ask for repeat readings, then evaluate recovery after stretching and laundering. Record any bagging at knees or elbows, and inspect seams where panels meet. Lab numbers are useful, but real wear is messier. A fabric can recover well in a test and still feel restrictive when layered. That gap deserves a fitting trial, even when the report looks reassuring.
| Tip | What to Assess | Relevant Test or Record | Example Evaluation Data | Buying Decision |
|---|---|---|---|---|
| 1. Confirm fabric construction | Check whether the material is a knitted fabric and identify its stretch directions before selecting a test method. | Record knit type, composition, fabric mass, and course and wale directions. ASTM D2594 is for low-power knitted fabrics; check method suitability for the material being evaluated. | Example sample record: 78% nylon / 22% elastane; circular knit; 220 g/m²; course and wale directions identified. | Ask the testing laboratory to confirm that the chosen method fits the fabric’s construction and power. |
| 2. Test both fabric directions | Stretch may differ substantially across courses and wales, affecting fit and garment patterning. | Use the applicable procedure and report results separately by direction; document specimen orientation. | Illustrative screening results: course stretch 42%; wale stretch 18%. These are example values, not ASTM limits. | Compare direction-specific results with the intended garment design and fit requirements. |
| 3. Assess stretch and growth | Consider both how far the fabric stretches and how much it remains extended after the prescribed test and recovery procedure. | ASTM D2594 addresses stretch properties, including growth, for knitted fabrics having low power. Follow the current standard’s procedure and report its specified conditions. | Illustrative results: course growth 5%; wale growth 3%. Example only; acceptance limits must be set for the product. | Review growth alongside stretch; high stretch alone does not establish good dimensional recovery. |
| 4. Measure tension at elongation | For elastic fabrics, understand the force associated with extension rather than judging compression feel by hand alone. | ASTM D4964 covers tension and elongation testing of elastic fabrics using a constant-rate-of-extension tensile testing machine. Record specimen details and test conditions. | Illustrative lab record: force at 30% elongation = 12.5 N for the stated specimen and test setup; not a universal target. | Compare samples only when specimen dimensions, direction, conditioning, and test settings are comparable. |
| 5. Match test conditions | Results can be affected by specimen preparation, conditioning, direction, and machine settings. | Request the laboratory report the applicable standard edition and all required test conditions and deviations. | Example comparison record: same fabric lot; same specimen direction; same laboratory procedure; deviations recorded as “none” or described. | Do not treat results from different test setups as directly comparable without checking the conditions. |
| 6. Check recovery after repeated wear-like extension | Evaluate whether repeated extension changes the fabric’s dimensions or force response. | Use the applicable standard procedure for the test being claimed; if repeated-cycle performance is required, agree on a separate, documented test protocol with the laboratory. | Example development log: initial length 100 mm; length after an agreed test and recovery period 104 mm; change recorded as 4% for that protocol. | Set a product-specific maximum dimensional change; do not describe an agreed extra protocol as an ASTM requirement. |
| 7. Test production-representative samples | Verify that samples represent the intended bulk fabric, including its finishing and dyeing processes. | Record sample lot, color, finish, and sampling location; request repeat specimens as agreed with the laboratory. | Example sampling plan: 3 specimens per direction from each submitted lot, with individual results and a mean reported. | Approve based on production-representative material, not only a hand-selected development swatch. |
| 8. Evaluate panels and seams | Fabric stretch does not by itself predict the stretch, comfort, or durability of a finished garment. | Assess garment panels, seam construction, and fit separately; agree on garment-level tests where needed. | Example prototype check: inspect 3 garment sizes and record seam opening, panel distortion, and fit observations after the agreed wear or extension assessment. | Request a finished-garment sample before bulk approval, especially where seams cross high-stretch zones. |
| 9. Define acceptance criteria in advance | ASTM test methods describe how to test; they do not automatically provide a universal pass/fail specification for every compression garment. | Write product-specific limits for stretch, growth, or tension and identify the test method and conditions used to judge them. | Example specification format: course stretch 35–50%; course growth no more than 6%; values shown are illustrative buyer-set criteria, not ASTM requirements. | Agree on limits with the supplier and laboratory before testing samples or placing a production order. |
| 10. Request a complete test report | A useful report lets you trace results to the material and reproduce the comparison. | Request the method and edition, sample identification, direction, specimen count, test conditions, individual results, and any deviations. | Example report checklist: ASTM method cited; lot and color identified; course/wale results separated; units stated; deviations disclosed. | Use documented, comparable results for supplier and lot decisions; confirm the current standard edition with the testing laboratory. |
Note: Numeric results and specification examples in this table are illustrative and are not ASTM limits or claims of actual laboratory testing. ASTM D2594 applies to low-power knitted fabrics; ASTM D4964 covers tension and elongation testing of elastic fabrics. Confirm method suitability and current requirements with a qualified textile testing laboratory.
Before approving custom compression wear, test the prototype on the intended wearer, not just a dress form. Check pressure at the ankle, calf, and garment edges while standing and sitting. Look for rolling hems, numbness, pinching, or skin marks. A prototype can look convincing on a table. That proves little. Record measurements and fit notes, then reassess after laundering. In a Cochrane review of 14 trials involving 1,391 people with venous leg ulcers, compression probably improved healing compared with no compression; one pooled analysis found a hazard ratio of 2.17 across five studies. Those results concern wound care, not every garment or wearer.
Tip: Request a wash-tested sample. Follow its care label exactly, then check stretch, seams, and fit again. High heat or harsh detergents may affect elastic fibers. If the instructions are vague, ask the manufacturer for tested washing conditions. Small details matter.
Confirm the product’s regulatory status before making medical claims. FDA and European Union requirements depend on intended use, product type, and labeling; verify the applicable pathway for each sales market. Keep technical files, test results, and approved instructions together. Claims should match the evidence. That part can feel tedious, and it is easy to overlook. When compression is prescribed, have a qualified clinician check fit and suitability, especially if symptoms change.
Start with where and how long you’ll wear it. A long flight, work shift, and workout may need different coverage.
Ask before choosing medical compression, especially with circulation problems, reduced sensation, swelling, or a recent procedure. Don’t guess the pressure level.
It should feel secure during sitting, bending, and walking, not painful or numb. Check the waistband while seated.
Follow the custom size chart. It may request your chest or bust, underbust, waist, hips, and specific limb or torso points.
Use a flexible tape on bare skin while standing naturally. Keep it level and snug, but don’t pull it tight.
No. Compression fit depends on close, even contact, and small measurement errors can change how the garment feels.
Ask which size suits the garment’s intended compression. Measure twice, and share any uncertainty with the supplier.
No. Measure both sides if requested, and note the date and locations. I might still round a number out of habit; that can make the chart less useful.
Choosing Custom Compression Wear starts with defining how and where it will be used, then deciding whether medical-grade compression is appropriate. For medical use, check that the garment’s pressure level matches the intended need and the relevant RAL-GZ 387 classification; Class I corresponds to 18–21 mmHg at the ankle. Accurate sizing is equally important, so measure the required body points and compare them with the supplier’s custom size chart rather than relying on standard clothing sizes.
Before approving an order, review a prototype for comfort, movement, and fit. Ask how the fabric’s stretch and recovery are assessed, including whether testing references ASTM D2594 and ASTM D4964. Finally, confirm that care instructions are practical and that any applicable medical-device requirements have been considered. These steps can help you evaluate a garment’s suitability, consistency, and everyday usability before committing to a custom order.